Showing posts with label making a new figure. Show all posts

Thursday, May 14, 2020

Making a New Figure Part 5


 Time to start working on the header card. The pictures below are the ones that I used to create the figure image for the header card.

Rockwell Collins Gets $109M DLA Contract for Fighter Pilot Helmet ...
Darth Vader's armor | Wookieepedia | Fandom  Buy Arnold Schwarzenegger Terminator Jacket-J4jacket
Amazon.com: NECA Alien 40TH Anniversary Big CHAP 1/4 Scale AF ...   

I first start by putting the pictures in a rough order to check if they will work out.

It looked good, so I move to the next step and start editing the pictures to make it look like the figure I made.

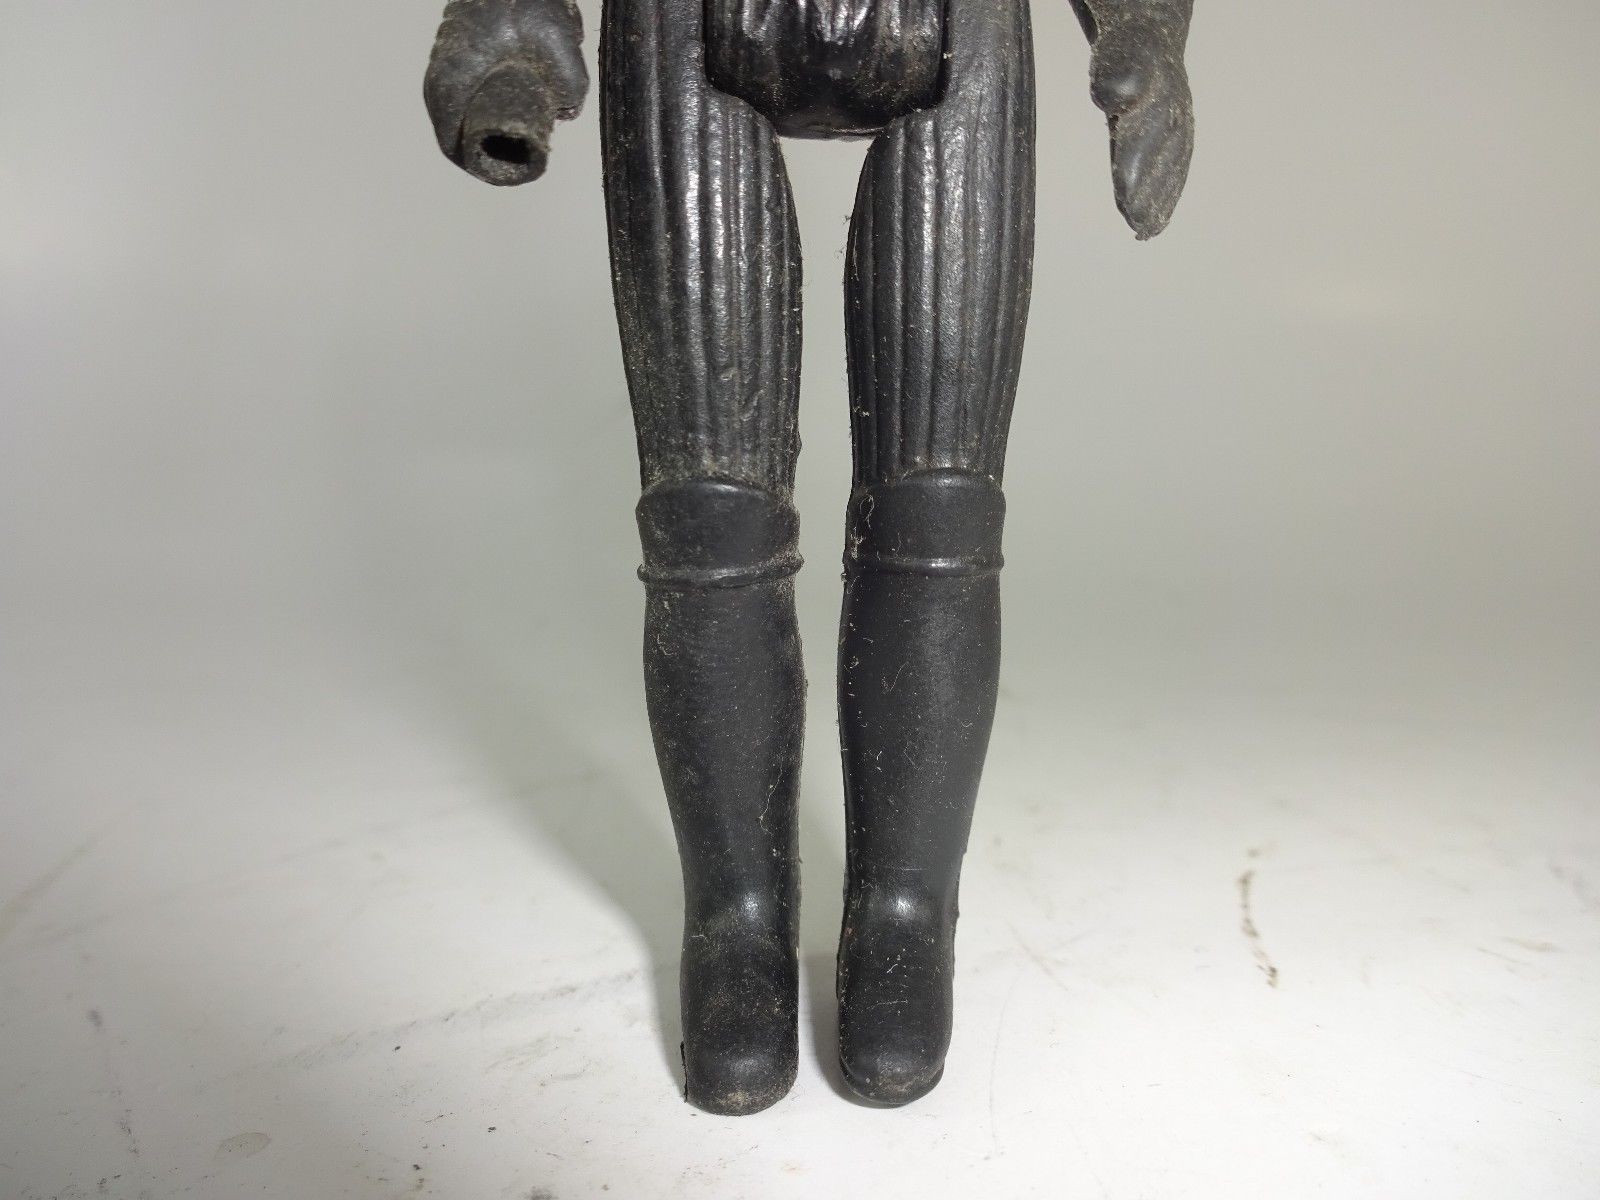
I would like to note that I brought the Darth Vader Action Figure legs in late on this creation. The photo of Vader's legs had the cloth on them and they did not look right. The figure looked like he was wearing a dress.

Next it was time to finally come up with a name. I have been stuck on the 12 that is on the figure's breathing apparatus. I wanted to work this into the name, but could not figure something out. Then it hit me. Why not see what the word "Twelve" is in some foreign language. 

And there it was

Tólf 


Tólf is Icelandic for Twelve. That name seems perfect for this figure. Above is the header card for this figure. I will have these figures for sale (along with others) in the middle of June. Announcements will be made on my Instagram. 

Friday, April 10, 2020

Making a New Figure Part 4

Time to Paint! Below is a picture of all the paints I used to paint this figure.


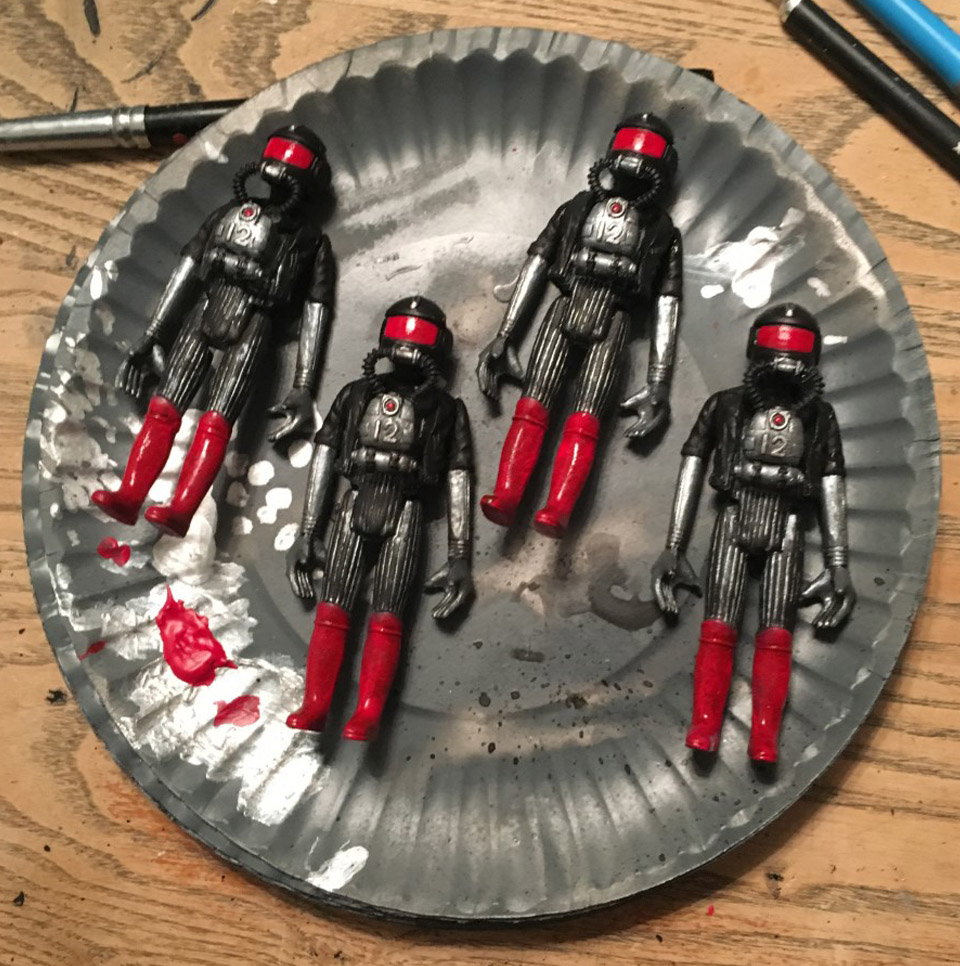
From left to right: Rust-oleum Flat Gray Primer, Liquitex Basics Silver, DecoArt Americana Cinnamon Drop, DecoArt Americana Lamp (Ebony) Black, FolkArt Metallic 506 Silver Anniversary, Citadel Shade Nuln Oil and Tamiya Color X-7 Red. And for my glue I use Gorilla Super Glue Gel.


I start with the Primer. I like the Flat Gray (or a Flat Black).


I then start by painting any under coats. In the case of this figure I wanted a Silver to show through the black on the body.


Then it hit all the piece with the base colors. At this stage I'm a little sloppy, but not messy. I try to get the feel of the colors to make sure that they work together and see if I need anything different than what I planned. 


I then glue the figures together and put on the wash coat, which in this figures case was done with the Citadel Shade paint. After the figure dries I will hit the figure over with a final layer in most places, sometime I like the way the wash worked, and will not repaint sections, sometimes I will repaint pieces that I washed. Touch ups usually take another day after the final layer.


Then I have the final figure. Still don't have a name for this guy, probably will come up with it when I work up the header card in the next Post.

Wednesday, April 1, 2020

Making a New Figure Part 3

With the toilet paper rolls hot glued into place and marked, the molds are ready to be poured.  I mark the outside of my toilet paper rolls to indicate where the front, back and pins are so I know where the side is when cutting the molds after they cure. 

I use Mold Star 16 Fast to create my molds. I have used other products but this is the one that I like the best. Also, don't forget to spray the pieces with some type of release agent, I use Stoner Rocket Release. (you can see a can in the background of the picture above.)


Once the molds are done curing, I cut out the pieces. This is probably the hardest part for me, because I cannot see the pieces. I'm not sure what others do, I have tried taking pictures and using them to help me cut, but really the markings that I mentioned above are what help me the most. After the molds are cut I use rubber bands to seal them up tightly and prepare to pour.


I use Smooth-Cast 305 Urethane Resin. For my first pour I do not spray the molds with any release agent, but will do so after the first pull and depending on the temperature, once every 3 to 5 pulls.


After drilling a couple holes in the figure for the piece to be inserted into I have a figure. If the piece come out really sweaty I will use baking soda to let them sit in over night. I have not done this for about a year, I'm not sure what has changed, but my piece are not as sweaty as they use to be.

Next: I paint the figure.

Sunday, March 22, 2020

Making a New Figure Part 2

After picking out the pieces that I plan to use and glueing them together it's time to make the molds. Or at least prep them.

I had originally started doing a two part mold, but I was never happy with them. I then learned to do a cut mold using empty toilet paper tubes. This worked okay but I had a hard time making sure that the figures stood after glueing the legs on. 


Recently I started making cut molds for the body with the legs attached (sometimes the head is attached also). The empty toilet paper tube was too small though. Enter the empty Pringles can (with some cardboard tape to it (the photo is towards the end of this blog).

I have two places to fill on each foot. One in the front and one in the back. I was having problems with bubble holes and this was my solution. I use some clay glued to the a piece of cardboard and hot glue the Pringles can to the cardboard.  


For the head and the accessories I prep them similar to the body but the will be encased in a empty toilet paper tube that has been covered with duct tape so that the silicone mold will not stick to it. My last couple of head have had some undercuts, so to avoid bubble holes I have run a couple of toothpicks to the head to allow the air to escape when casting.


Finally the arms. I have been molding my arms in the same mold for a while now. There has only been one issue with this, that was when the figures had 2 different types of arms. Another thing I started doing lately is adding pins to the fingertips to help them fill, this has worked so far, but I have not done a human hand since I switched to this method.

Next will be pouring the molds (which I'm in the middle of doing as I finish typing this). 

Friday, March 13, 2020

Making a New Figure Part 1

I have wanted to share the process I go through when making my bootleg figures. However each time I look through my pictures I'm missing some major steps. So I decided to document the figure that I'm currently working on as I make it. Not sure how long this process takes or if I will speed it up because I am doing these post, but here it goes.

The first thing is coming up with an idea. I really wanted to make a 3rd figure to go with what appears to be my space biker figures. Which started with Insecticus (below)


and continued with my current release Derro Nimbus (below)


I originally had a different third figure planned but I really liked the way the leather jack worked out on this figure and wanted to immediately use it on another figure. So the figure I was working on had to be shelved for now.  


 I usually start my figures with a body, but in this case I needed a body to put the leather jacket on. I wanted something the had groves or divites in it similar to the Greedo body that I used for Nimbus. 

1) The Darth Vader body was perfect for this. This body even had legs that matched, which also had boots similar to the Greedo boots. 

2) A resin cast of the Terminator Leather jacket all hollowed out. In addition to hollowing out this piece to put this jack on the figures, I have had to shave a little off the figures sides.

3) The head came from an Adventure People Fighter Pilot. Unlike the other 2 figures who have Star Wars figure heads that have been turned backwards and modified. I had found this piece after discovering piece #4 and it was a perfect fit.

4) This piece came from a figure I picked up at Dollar General. For whatever reason I like using Star Wars figure bodies, but I want them to be edited a bit. When I chose to use the Darth Vader body, I knew I would have to modify his chest plate somehow. This is a diving mask and needed to attach to some type of face mask. The head from the Fighter Pilot seems to work perfectly.

5) the arms were a little bit of an issue at first. Vader's body is long and needs longer arms. I also wanted something that was non human. Originally I was going to use Admiral Akbar's arms, but they were not long enough. So I just used his up arm pieces.

6) And the forearms from the Alien figure to complete things. 


The above picture is so that you will get some idea of what it will look like put together. The body has some rubber bands wrapped around it to keep the leather jacket in place while the glue and Milliput dries. 

This figure is going to be SWEET!

More updates soon as I move forward with this figure.